
Is Pax Autocratica combat an RTS or an FPS?
Expeditions are first-person FPS with squad AI and bullet-hell pressure. Colony management happens between runs — you do not command battles from a pure top-down RTS camera.

Sponsored
This Pax Autocratica combat guide covers the expedition FPS loop from Multiverse: lead troops through bullet-hell arenas, grow fights from infantry skirmishes into vehicles and mechs, grab mid-run Core Fragments, manage ammo and melee, then push star-map sectors from early Elysia / Allesia naming toward 100% major battles. Verified August 16, 2026 · Steam.
| Fact | Detail |
|---|---|
| Platform | Steam PC · Windows · Steam Deck Playable |
| Genre | Satirical colony sim · FPS roguelite |
| Mode | Single-player at launch · co-op planned |
| Combat style | FPS roguelite + squad AI + bullet-hell pressure |
| Scale | Infantry → vehicles → mechs / large set pieces |
| Mid-run power | Core Fragments from pods and combat |
| Economy in fight | Ammo · melee drops · potions · grenades |
| Map | Tyris System sectors — early Elysia / Allesia (UI spelling varies) |
| Major battles | Trigger when expedition progress hits 100% |
| Verified | August 16, 2026 |
Matched by build plan, shared topics, and guide progression — not random related links.
You are not commanding from a top-down RTS camera. Pax Autocratica combat puts you in first person as the leader while squadmates fight beside you. The feel is a mobile arcade shooter with Doom-like snap movement, overlapping projectiles, and orders that keep AI bodies from wandering into sniper lanes.
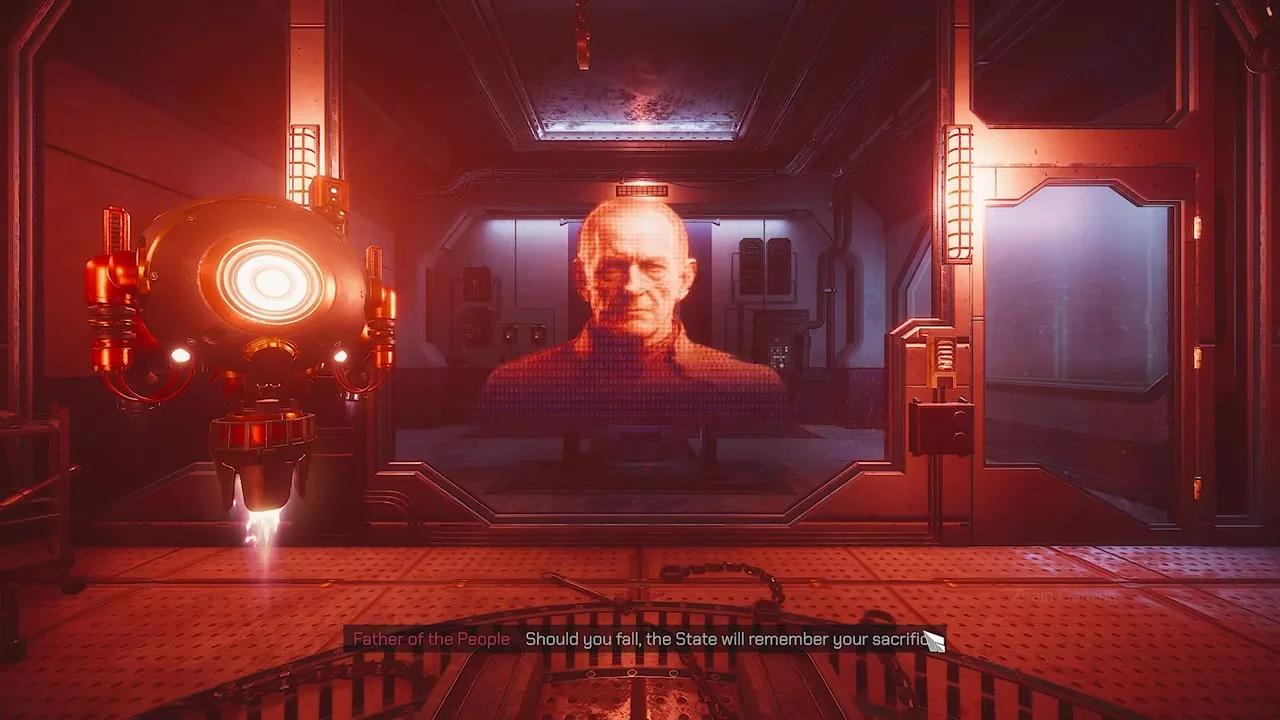
Early footage and playthroughs report no punishing friendly fire — the real wipe is overlapping enemy grenades, mechs linking up, and standing still for snipers. Treat cover and dash timing as first-class resources.
As sectors deepen, the same loop grows heavier metal.
Official framing and long expedition videos show the same campaign escalating: desperate infantry skirmishes become vehicle fights, combat mechs converging from multiple directions, bastion turrets, armored tanks, and set-piece objectives (batteries, bridges, energy beacons, nuclear strike zones).
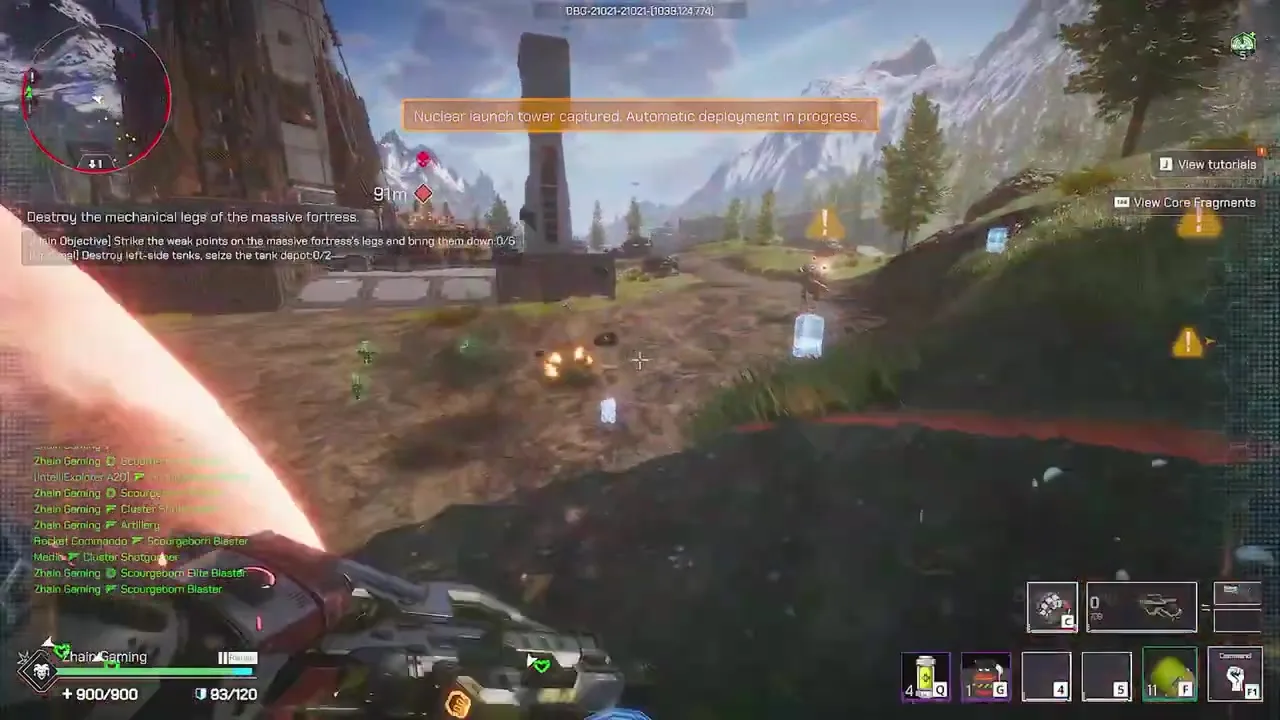
| Phase | What shows up | Player job |
|---|---|---|
| Early infantry | Foot soldiers, light gunners, capture targets | Learn dash, weak points, Capture Rounds |
| Mid vehicles / turrets | Bastions, armored pushes, ambush bridges | Break layers — do not tunnel the furthest ping |
| Mechs | Combat mechs linking from multiple angles | Kill them before they converge; use cover and burst |
| Set pieces | Beacons, missile towers, nuclear telegraphs | Follow VO objectives; evacuate strike zones |
| Boss / Overlord checks | Elites + Sector Overlords | Prep on bosses |
Sector briefings describe depth: elevated bastion fire, mid-range mechs, ground armor. Advancing steadily beats YOLO rushing the final marker while energy towers keep spawning reinforcements.
Community advice often pairs SMGs for soft single targets and assault rifles / laser-style Weapon Cores for mechs and armor. Full tier tables stay on weapons — here the rule is simple: if mechs appear and your beam cannot hold, change the gun or the Core, not only the squad slogan.
None of that matters if you are dry on ammo mid-arena.
Tutorial VO and early playthroughs hammer one economy rule: melee kills drop ammo, plus better odds on health shards, potions, and grenades. Ranged-only clears eventually starve the magazine in bullet-hell density.
| Resource | How you get it | Habit |
|---|---|---|
| Ammo | Melee finishes · crates · some drops | Close the last 10% on trash packs when safe |
| Health shards / potions | Melee bias · pickups · Medic support | Do not waste potions on chip damage |
| Grenades | Drops · loadout | Clear clumps; save one for elite panic |
| Shield / cover | Break line of sight; wait recharge | Shields-down moments are leave-or-die checks |
| Capture Rounds | Crafted at colony · spent with capture fire | Separate from lethal ammo — see capture |
Red glowing spots mark more effective hits. Holding a laser Core on a weak point deletes priority targets faster than spraying the whole silhouette — especially once magazine upgrades let the beam stay up.
Movement is snappy on purpose. Melee rooms and sniper lanes both punish planting your feet. If a tell screams “grenade incoming,” move first, shoot second.
Mid-run power spikes come from Core pods, not from hoping the next trash pack drops a miracle clip.
Core Fragments are the roguelite layer. Approach a storage pod, open the selection screen (commonly E), and choose a fragment that matches how you already fight. Duplicates can enhance existing Cores. Exact permanent unlock matrices stay TBA — treat expedition Cores as run power first.
| Situation | Prefer | Avoid |
|---|---|---|
| Open map, many soft targets | Bounce / missile / cleave style Cores | Tiny single-target only if mechs are next |
| Mechs / armor ahead | Beam / sustained Weapon Cores | Pure trash-clear picks with no hold damage |
| Squad dying | Survival / reload / magazine helps | Glass DPS that needs perfect aim |
| Duplicate offered | Enhance the Core you already built around | Random third identity mid-boss |
| Extract marker up, squad thin | Skip the pod and leave | One more gambling roll |
Do not confuse a temporary Missile Core or Electric Bouncer with a permanent factory unlock. Deep lists and synergies belong on cores; this page only answers “pick now or extract.”
Every second you soft a prisoner is a second you are not deleting a mech. Decide the run’s job before the first contact: loot Cores, fill prisons, or clear a 100% battle — then stick to it.
The star map decides which of those jobs is even available.
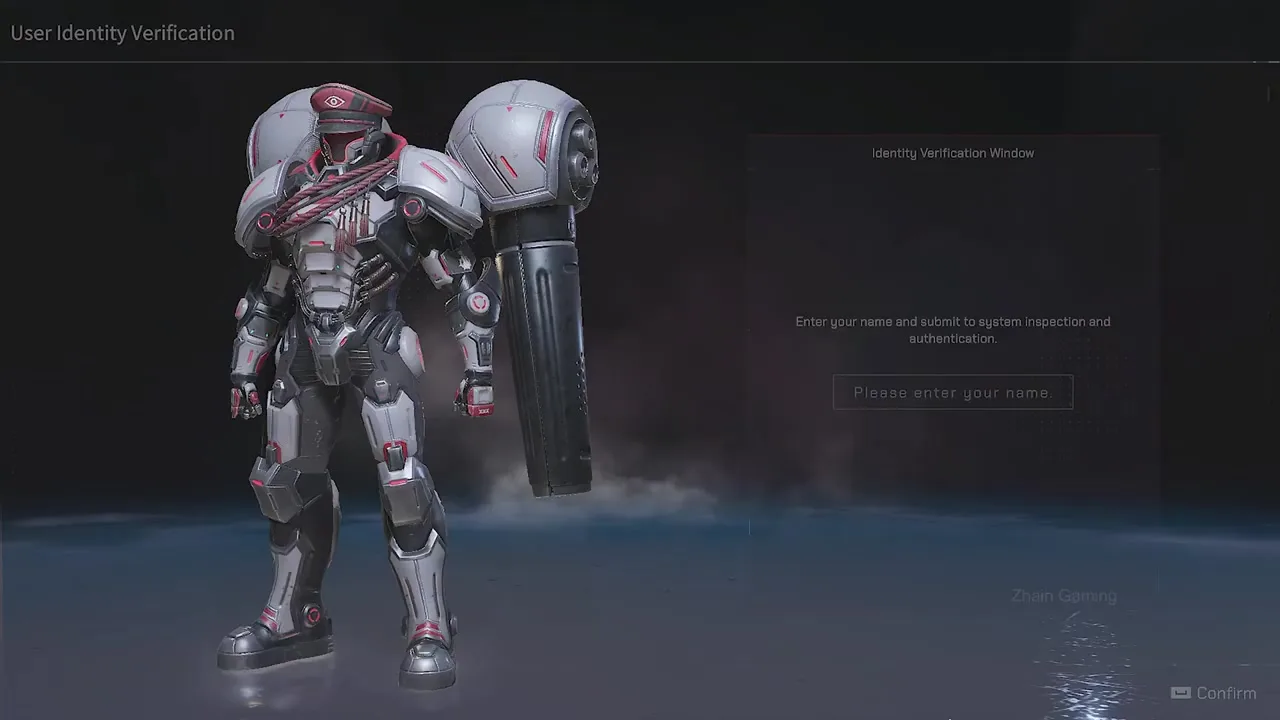
After the wormhole, you enter the Tyris System. Early briefing points you at the first sector — UI and VO alternate spellings such as Elysia / Elisia / Allesia / Alysia. Later sectors in long clear videos include routes such as Orito / Orio and Serena. Exact spelling may shift in patches; the structure matters more than the letters.
| Node type | What you get | Risk |
|---|---|---|
| Resource stops | Logic chips, reactors, alloys, materials | Enemy strength rises as you roam farther |
| Merchants / exile fleets | Trade, recruit, or fight | One-and-done encounters — decide cleanly |
| Combat encounters | Cores, captives, XP | Can spike harder than your Tier |
| 100% expedition battle | Major set-piece / sector push | Bring medics, rounds, and a leave plan |
Beginner guides note that when expedition progress hits 100%, a major battle fires. That is your Sector push / Overlord-adjacent check — prep like a boss day, not like a grocery hop. Scout habits for elites and Overlords live on bosses.
VO after early victories pushes Soldier Training Center work and base consolidation before the next harsher sector. Listen: a shiny new star-map ping is not a reason to skip beds and Capture Round batches.
If you keep wiping the same node, the mistake list below is usually why.
These habits turn a recoverable chip-damage fight into a full colony setback.
Enemy density, Core odds, and keybinds shift in Early Access. Re-verify sticky habits on the official Discord and keep tips open for colony-side mistakes that look like “combat skill issues.”
Expeditions are first-person FPS with squad AI and bullet-hell pressure. Colony management happens between runs — you do not command battles from a pure top-down RTS camera.
Tutorial guidance emphasizes melee kills for ammo drops plus better odds on health shards, potions, and grenades. Crates and world drops help, but pure ranged clears starve magazines.
Mid-run power cards from pods and combat. Open the pod, pick a fragment that matches your gun and stage, and enhance duplicates when offered. Deep synergy notes: cores page.
Community beginner guides say major battles trigger when expedition progress reaches 100%. Prep like a boss sector, not a side farm.
Early briefings point at the first Tyris sector after the wormhole. Spelling varies across UI and VO (Elysia / Elisia / Allesia / Alysia). Treat it as the starter Scourgeborn-controlled foothold.
Community guides use F1 for command focus and T for close following. Pair that with class picks on the classes page and leave plans on the bosses page.
Matched by build plan, shared topics, and guide progression — not random related links.